

A hardware wallet is not safely set up when it displays a recovery phrase. It is safely set up when you have proved four things: the device is genuine, the backup is accurate, the address belongs to the wallet you created, and you can recover that wallet without relying on memory or the manufacturer.
That makes the correct setup slower than most onboarding screens suggest. The point is not ceremony. It is to find errors while the balance is still close to zero.
What this setup is trying to prove
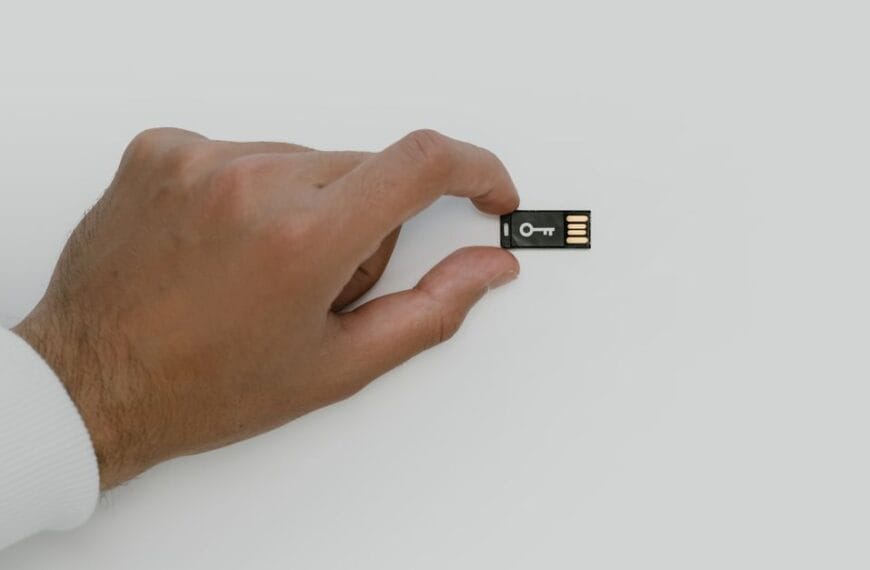
A hardware wallet is a physical signing device. It should generate and use private keys without exposing them to the wallet software on an internet-connected computer or phone. The application prepares and broadcasts blockchain transactions; the hardware wallet independently displays and authorises what will be signed.
That separation is useful only when the device is genuine, the recovery phrase was created privately, and the details on the hardware-wallet screen are checked before approval. A compromised computer may still show a false receive address or construct a malicious transaction. The device cannot protect a user who approves information they did not verify.
Before opening the box, decide what this wallet is for
A savings wallet, a dApp wallet and a travel wallet should not share one seed merely because one device can technically hold them all. Decide what value the wallet will protect, how often it will sign, which chains it needs, and what happens if the device disappears.
If this is meaningful long-term savings, keep it separate from daily contract interactions. Our hot wallet versus cold wallet guide explains why one seed should not absorb every risk in your crypto life.
Step 1: verify the purchase path and the device
Buy from the manufacturer or a seller the manufacturer identifies as authorised. Compare the packaging and contents with current vendor instructions, but do not treat a perfect seal as proof. Seals can be copied; internal authentication is stronger.
Use the official application reached from a URL you verified yourself. Trezor Safe devices can perform a hardware-level device authentication check. Ledger’s official software runs a genuine check against the secure element. The exact process differs by model, so follow the current instructions for the device in front of you.
Stop if the device arrives with a PIN, recovery words, pre-installed wallet, unexplained firmware warning, or instructions to enter seed words into a website. A new device should generate new recovery material during your setup.
Step 2: install official firmware before funding
Some devices ship without firmware so the first official application installs it; others arrive with signed firmware and authenticate it. Either design still needs a clean result from the vendor’s official verification process.
Do the firmware step before depositing anything. If an update fails or the authenticity check produces a warning, the balance should still be zero. Do not solve a security warning by searching for a random download or support account.
Step 3: set a PIN without confusing it with recovery
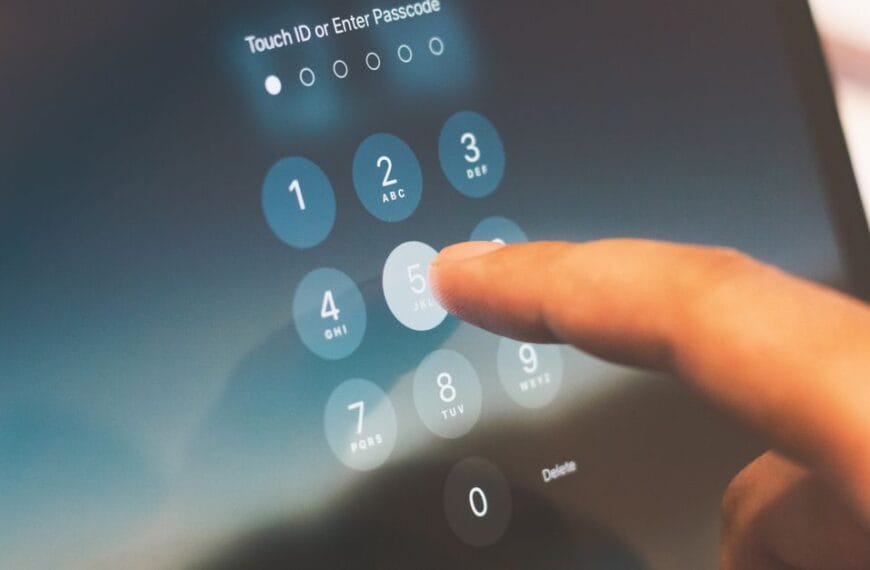
The device PIN protects access to that physical hardware wallet. It is not the backup and normally cannot recover the wallet on a replacement device. Choose a PIN that is not reused from a phone, bank card or other account, and learn the model’s failed-attempt and wipe behaviour before relying on it.
Do not keep the PIN attached to the device or in the same obvious location. Also do not create a complicated memory-only scheme that your future self cannot execute. The recovery phrase restores the wallet; the PIN only controls the current device.
Step 4: create the backup entirely offline
Write the recovery words in the order shown by the device. No camera, printer, clipboard, cloud note, email, password manager or chat message should touch them. Anyone with the words—and any required passphrase—can recreate the wallet without the hardware.
If fire, water or long storage justify a physical upgrade, choose and install a metal seed backup by failure mode, not by its advertised melting point.
A passphrase is not an extra password that unlocks the same wallet. Under BIP-39 it contributes to a different seed. One wrong character can open a valid but empty wallet. If you use one, document the recovery process without placing the seed and passphrase together. Read Seed Phrase vs Passphrase before adding that complexity.
Step 5: prove the backup before it matters
Use the manufacturer’s on-device recovery check where available, or perform a controlled recovery drill according to its official instructions. The goal is to verify word order and any passphrase without typing the secret into an internet-connected computer.
A checkbox saying “I wrote it down” proves nothing. A successful recovery check proves that the material you preserved can regenerate the intended wallet under the tested process. It still does not prove your storage will survive fire, theft or ten years of neglect.
Step 6: verify the first receive address on the device
Generate a receive address in the wallet application, then display and compare the full address on the hardware wallet’s trusted screen. Host malware can replace addresses shown on a computer or clipboard. The device screen is the independent reference.
Confirm the asset and network as well as the characters. A valid address on the wrong network can create a recovery problem even when nothing was mistyped.
Step 7: send a small test, then test the return path
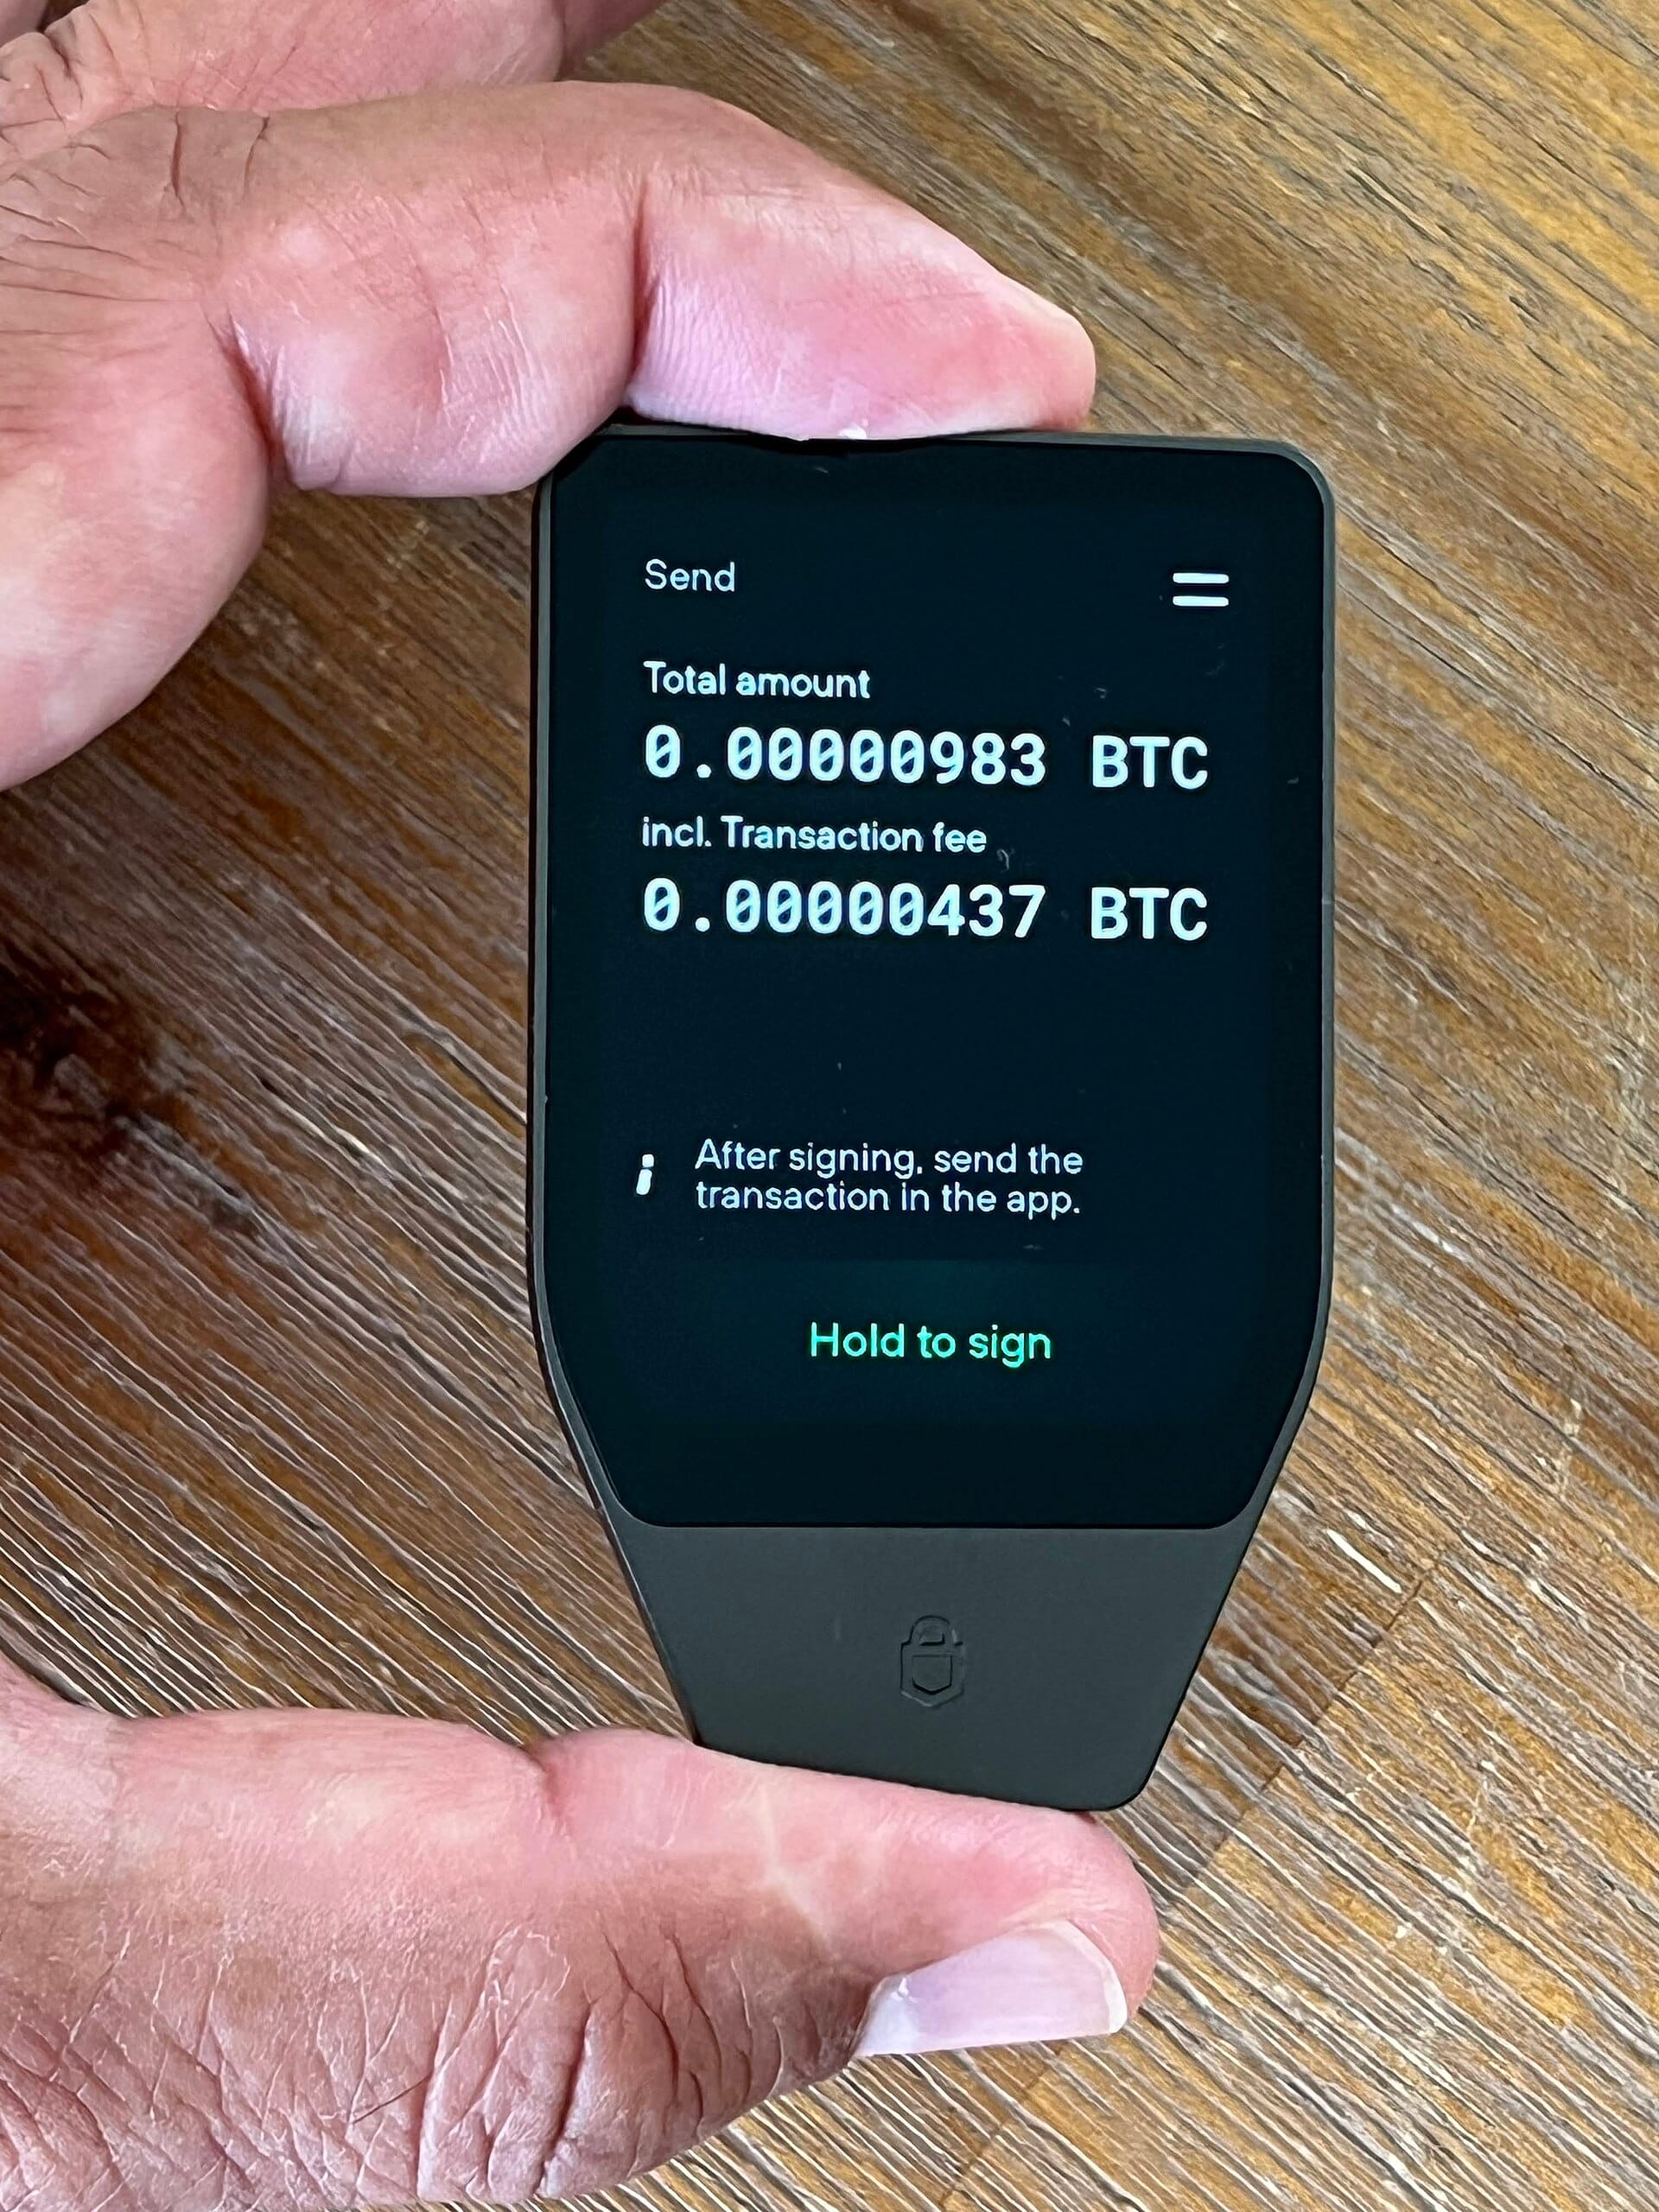
Send an amount small enough to lose without consequence. Wait for the required confirmations and verify the balance using more than a transient notification. Then construct a small outgoing transaction, read the destination, amount and fee on the device, and sign it.
This tests the whole loop: receive, recognise, construct, verify and spend. Only after the loop works should you move the remainder, preferably in controlled batches. Our guide to moving crypto off an exchange covers network and withdrawal checks in detail.
Step 8: separate the device from the recovery material
Keeping the device and complete backup in the same bag converts one burglary or fire into total loss. Keeping several complete copies in obvious places multiplies theft opportunities. Choose locations by threat: fire, water, unauthorised discovery, coercion and future access by heirs.
If the balance would change your family’s future, one device and one full backup are not enough design. Consider a tested multisig design or multi-share structure, plus a written crypto inheritance plan.
First-day hardware wallet setup checklist
- The device came through a purchase path you can verify.
- Official wallet software authenticated the device without warnings.
- Firmware was installed or verified through the manufacturer’s documented process.
- A new PIN and a new recovery phrase were created during your setup.
- The seed phrase or recovery phrase never touched a camera, keyboard, cloud service or chat.
- The backup passed an on-device recovery check or controlled recovery drill.
- The first receive address was compared on the hardware-wallet screen.
- A small incoming and outgoing transaction completed on the intended network.
- The device, backup and any passphrase are not stored as one recoverable package.
The setup is finished when recovery is boring
My judgment: the safest first day is not the day you move the most crypto. It is the day you discover a bad backup, wrong network or misunderstood passphrase with almost nothing at risk. A hardware wallet reduces key exposure. The setup process decides whether that reduction survives contact with a real mistake.
If you have not selected a device, start with the hardware-wallet guide organized by threat model. If recovery words were ever photographed or typed, stop setup and migrate to a newly generated seed on a trusted device before funding it.
Primary sources
- Trezor: Safe 5 setup sequence
- Trezor: device authentication check
- Ledger: genuine check and new-device setup
- Ledger: Recovery Check
- BIP-39 mnemonic specification
No affiliate link is used in this article. Educational information, not personalised financial advice.